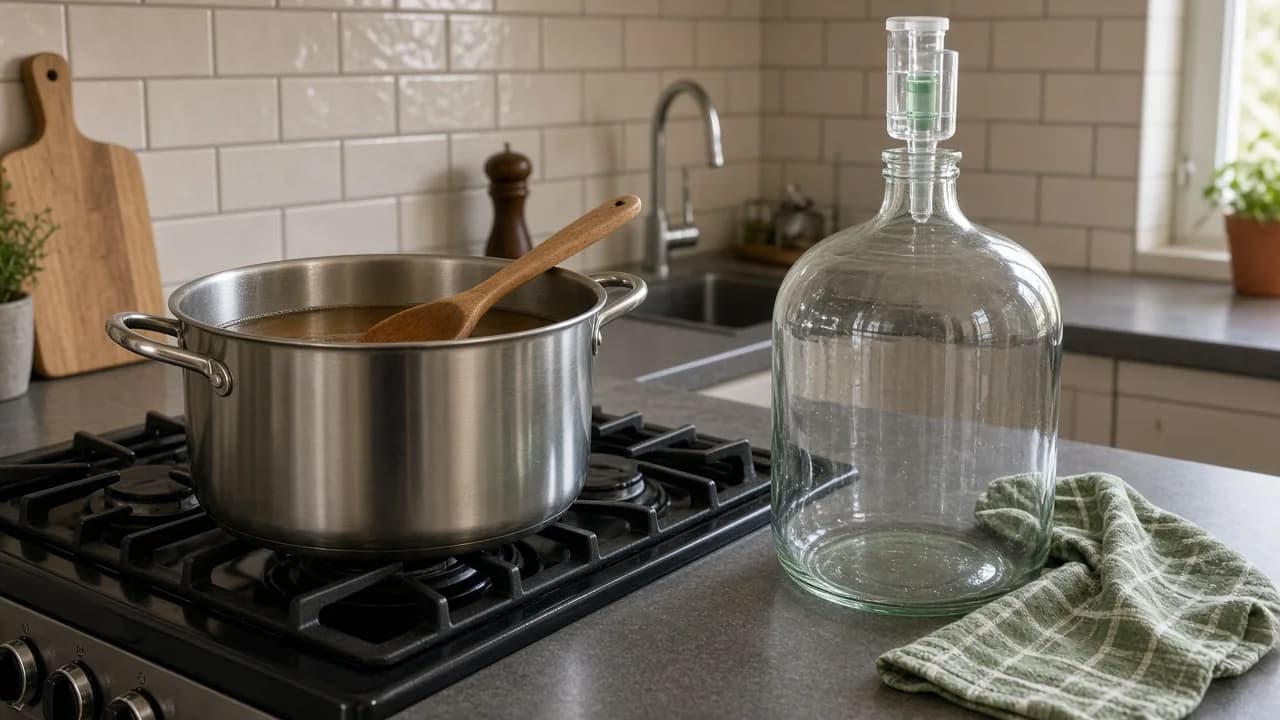
Home brewing is legal in Australia when you are fermenting beer for personal use on ordinary household equipment. The ATO says beverages that are not produced by distillation, and do not contain distilled spirit, can be made without an excise manufacturer licence in those conditions. You do not need this page to apply for anything. You need it to avoid the three mistakes that sour a first batch: dirty gear, a wild temperature swing, and bottling while the yeast is still working.
This is a process guide. It is not a shop, it does not rank starter kits, and it does not tell you how to run a still. Distillation of alcohol without an ATO licence is illegal; the ATO does not grant licences for personal consumption.
What you are actually doing
Yeast eats fermentable sugar and produces ethanol and carbon dioxide. In beer the sugar comes from malted barley, usually sold to beginners as a concentrated syrup or a dry powder, already flavoured with hops in a kit. Your job is to give that yeast a clean vessel, a sensible temperature, and enough time.
A kit brew looks like this in outline.
- Clean and sanitise the fermenter, lid, airlock and spoon.
- Dissolve the hopped malt extract in hot water in the fermenter or in a kettle, then top up with cold drinking water to the batch volume on the tin.
- Check the temperature of the wort. Pitch the yeast only when it is inside the range printed by the yeast laboratory.
- Fit an airlock and put the fermenter somewhere out of direct sun whose temperature you can predict.
- When gravity is stable, package into sanitised bottles with a measured priming sugar addition, or into a keg.
Extract brewing is the same idea with more control. You choose an unhopped malt extract, add hop additions yourself, and pick a yeast that matches the style. All-grain brewing adds a mash: you hold crushed malt in water at a conversion temperature so enzymes turn starch into fermentable sugar. The recipes guide is the next step once a kit has taught you sanitation and gravity.
Clean, then sanitise
Sanitiser is not a cleaner. If a fermenter still has a ring of soil, sanitiser will not save the beer. Wash with a brewing cleaner or a dedicated alkaline cleaner until the surface is bare, rinse as the cleaner’s directions require, then sanitise every surface that will touch cooled wort or beer: tap, lid, airlock, hydrometer jar, siphon, bottles.
The longer essay lives at the heritage path /brewers-library/brewers-library-beer-cleaning-and-sanitising-for-brewers/. Read it before you invent a shortcut with household bleach and guesswork.
Water, volume and the tin
Australian tap water is generally fine for a first kit. If your water is heavily chlorinated, leaving it in an open vessel or using a carbon filter can reduce chlorine character; do not add mystery chemicals on day one. Heat a portion of the water to dissolve extract so it does not sit in a sticky clump at the bottom of the fermenter. Then add cold water to reach the volume on the instructions. Volume matters because it sets original gravity. A short fill makes a stronger, heavier beer than the tin described; an accidental overfill makes a thin one.
Take an original gravity reading after the wort is mixed and cooled, before or just after pitching. Write it down. Future-you will need it.
Yeast is not a race
The satchel on a kit is yeast. It will ferment. Better results usually come from a fresh, style-appropriate strain handled as a living culture: rehydrate dry yeast as the laboratory directs, or pitch a liquid culture that has not sat warm on a parcel truck for a week. The yeast essay explains why oxygen at the start, and a sealed, calm fermenter later, both matter.
Temperature is the lever beginners ignore. Ale yeasts are typically happiest in a stable band the laboratory publishes — often somewhere in the mid-to-high teens Celsius. A Queensland laundry in January is not that band. A southern garage in July may be too cold for the same strain. You do not need a commercial brewery cellar. You need a space that does not swing ten degrees between afternoon and night: a water bath, a spare fridge with a controller, or simply the coolest internal room in the house.
Lager yeasts want it colder still. Do not start with a lager unless you can hold that colder range. The beer styles page explains why.
Gravity, not foam, tells the truth
An airlock that has gone quiet is not proof the beer is done. It might be a leaky lid. A hydrometer reading that stays the same across two or three days is proof the yeast has finished the sugar it can eat. That is when you package.
If gravity is still falling, wait. Bottling a beer that is still fermenting is how beginners make gushers and, in the worst case, bottle bombs. The FAQ heritage page walks through stuck ferments, young beer and the temptation to add extra table sugar “for more alcohol.” Extra simple sugar dries a beer out and can add cidery notes. It is not a quality upgrade.
Use a test jar. Do not drop a hydrometer into the fermenter and fish it out with a kitchen tong that has not been sanitised.
Packaging the first batch
Bottles are the usual first package. They need to be clean, sanitised, and filled leaving a small headspace. Priming sugar is what carbonates a bottle-conditioned beer: a known amount of fermentable sugar, mixed evenly, so each bottle gets the same dose. Bulk priming is the method that avoids teaspoon roulette.
Then you wait again. Yeast in the bottle eats that priming charge and produces carbon dioxide. A week or two in a moderate room, then a spell cold, is typical for a standard-strength ale. Taste one bottle before you invite anyone over. If it is still green — yeasty, buttery, or harshly bitter — give the rest more time.
Kegging is a later luxury. The kegging guide and the heritage note on pin-lock versus ball-lock cover that move.
A sensible first-year path
- Brew two or three kits exactly as written so sanitation and gravity become boring.
- Brew an extract batch with a hop addition you chose, using a yeast matched to a BJCP family.
- Add steeped specialty grain if you want more colour and malt flavour without a full mash.
- Step into all-grain when you can hold a mash temperature and you already trust your cleaning.
Join a club if you want calibrated palates. The essay on forming a club is about tasting tables, not liquor retail.
Australian conditions that the tin will not mention
Summer heat is the national specialty. If you cannot keep an ale in its published range, pick a more forgiving yeast, brew at night, or wait for autumn. Direct sun on a fermenter cooks esters into something you will not want to bottle.
Wildfire smoke, dusty sheds and pet hair are real contamination risks. Brew in a kitchen you can wipe. Keep the lid on once the wort is cool.
Local malt and hop supply is good in Australia. You do not need a story about imported rarity to make a pale ale. You need fresh ingredients and a plan for the leftover hops in the freezer.
Safety that is not theatrical
Boiling wort is a scald hazard. Use a pot you can lift when it is full, or heat in smaller additions. Keep children and pets away from the kettle. Fermenters full of liquid are heavy; lift with your legs or siphon.
Home brew is alcohol. Follow the NHMRC 2020 guidelines: no more than 10 standard drinks a week and no more than 4 on any one day for healthy adults, and none for people under 18 or for women who are pregnant, planning pregnancy or breastfeeding. A 23-litre batch is many standard drinks. It is not a weekend’s homework.
If someone offers you a still as the “next step after beer,” read the legal page and stop. That is a different activity, a different tax, and a different offence.
What to read next
The equipment page names the tools without turning them into a catalogue. The recipes page shows how a grain bill and a hop schedule are written. The beer FAQ keeps the troubleshooting voice of the old library without copying its text. When you want cider instead of beer, skip sideways to cider and mead. When you want a fermented tea, use kombucha and take the alcohol labelling seriously.
A first brew that is clean, fully fermented and patiently conditioned will teach you more than any ranking of “best kits.” Brew the beer. Write the gravity down. Drink it within the guidelines.