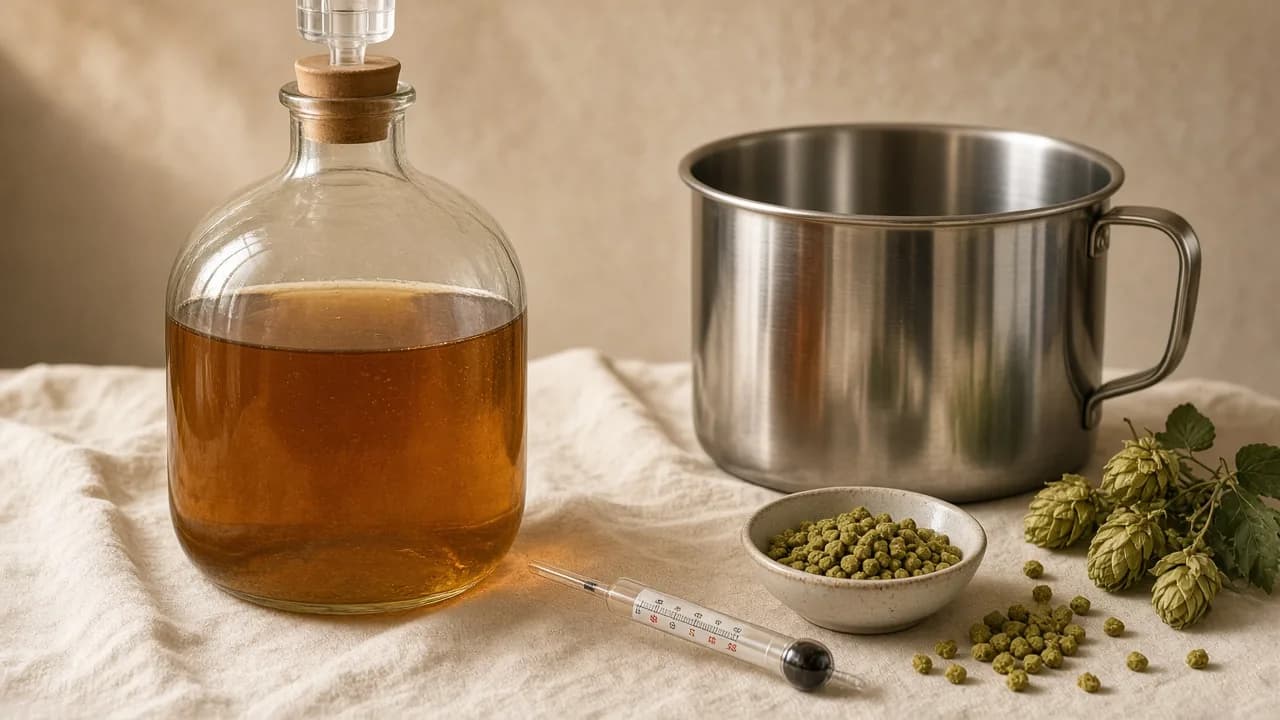
This domain once listed pots, mills and branded systems as merchandise. It does not do that now. Equipment here means function: what must touch wort, what measures the ferment, and what keeps you from scalding yourself. No prices, no “best system of the year,” no stock levels.
A first brewery in an Australian kitchen can be small. The beginners path assumes a food-safe plastic or glass fermenter, a large pot, a long spoon, an airlock, a hydrometer, cleaner, sanitiser, and a way to package. Everything else is optional until a process pain appears.
Vessels
Kettle. You need a pot large enough for the volume you actually boil. Extract brewers often boil a concentrated wort and top up in the fermenter. All-grain brewers need space for a full-volume boil if they want a classic hop utilisation and a predictable boil-off. A lid helps you reach a boil; leaving it slightly ajar can reduce boil-overs. Handles you can hold with wet oven mitts matter more than a brand badge.
Fermenter. Food-safe plastic buckets with a tap, PET fermenters, glass carboys and stainless conicals all work if they seal and can be cleaned. Wide openings are easier to clean. A tap makes packaging simpler. Glass is impermeable and easy to inspect; it is also heavy and breakable. Stainless lasts. Plastic is fine when it is not scratched into a bacteria hotel.
Mash tun. A insulated vessel that holds crushed malt and water at a conversion temperature. Cooler-style tuns and kettle mashes both exist. You do not need one for a kit. When you add one, a thermometer you trust is part of the vessel.
The old shop talked a lot about all-in-one electric systems. Those systems combine kettle and mash. They are a convenience, not a moral improvement. The gas or electric note is about rooms and extraction, not a leaderboard.
Measurement
Thermometer. Mash conversion, pitch temperature and lager control all depend on a number you did not guess.
Hydrometer or refractometer. Original and final gravity are how recipes are written and how you know a ferment is finished. A hydrometer needs a test jar and a sanitised sample. A refractometer needs a wort correction once alcohol is present; do not treat an uncorrected finishing reading as gospel.
Scales. Hops and water salts are small weights. A kitchen scale that can read a gram is enough for most household batches. This site will not invent a target water profile for your postcode.
Sanitation kit
Cleaner, sanitiser, a dedicated cloth or paper that is not the dish rag, and a bottle brush. That is the kit. The method is on the cleaning page. Star-style acid sanitisers and no-rinse products are common in home brew; follow the label. Household bleach is not a casual substitute unless you understand rinse requirements.
Cooling
A wort chiller — immersion coil or plate — shortens the time wort spends in the temperature band microbes like. In a small extract batch, an ice bath around the kettle can be enough. In summer, cooling is not optional if you want to pitch the same day.
Temperature control after the pitch
This is the quality upgrade that beats most gadget purchases. A spare fridge, a temperature controller, and a fermenter that fits inside will do more for an Australian pale ale than a decorative mash paddle. A water bath with frozen PET bottles is a budget version. A swamp cooler is better than a window sill.
Lager and summer ale both need this more than they need a third kettle.
Packaging tools
Bottles. Brown glass protects beer from light. Swing-top or crown-cap bottles both work if the seal is sound. A capper is required for crown caps. Inspect bottles for cracks before you create pressure in them.
Kegs. Cornelius-style kegs, a CO₂ cylinder, a regulator, lines and disconnects. Ball-lock posts are common in Australian homebrew supply; pin-lock posts still appear on older kegs. Match the disconnects to the posts. Details sit at kegging and pin-lock versus ball-lock.
Priming gear. A saucepan to dissolve priming sugar and a spoon to mix it through the batch. That is bulk priming.
Optional tools that earn their keep
- A mill if you buy uncrushed malt and brew all-grain often.
- A pump if you move hot liquid and understand the scald risk.
- A stir plate if you raise liquid yeast starters.
- Oak, if a style uses it, as cubes or a sanitised vessel — not as furniture scraped into beer.
Mills, pumps and branded controllers were category trees on the old site. They are optional here.
What you should not buy for home use
A still intended to distil alcohol. The ATO requires an excise manufacturer licence to distil alcohol in a still of any capacity, and it does not grant those licences for personal consumption. A still larger than five litres needs ATO permission even when it is not used for alcohol. This guide will not help you shop for one.
Alcometers and spirit-polishing filters belong to that same abandoned shop category. They redirect to the legal page.
Safety
Hot wort is a scald. Wet floors are a slip. Glass carboys shatter. CO₂ in a poorly ventilated kegerator is an asphyxiation risk if a leak runs. Cylinders must be secured. None of those sentences are statistics. They are ordinary hazards.
Lift with a plan. Brew where you can spill water. Keep fermentation locks filled so they actually lock.
How this page relates to the archive
Legacy URLs under , and 301 here. They were catalogues. If you arrived from one of those addresses, you are in the rewritten explainer, not a cart.
For the process that uses these tools, return to beginners. For grain choices that fill a mash tun, use the malt specifications essay.
A minimal kit, written as a list you can check
If you like checklists, this is the first-year set:
- A fermenter that seals and can be cleaned.
- An airlock and a bung that fits.
- Cleaner and sanitiser, kept in their own bottles, labelled.
- A long spoon that is not the barbecue tongs.
- A kettle you can lift when it holds wort.
- A thermometer.
- A hydrometer and a test jar.
- A way to cool wort.
- Bottles or a keg, plus caps or gas.
- A notebook.
That list has no brand names. It also has no prices. If you already own a stockpot and a food-safe bucket, you may be closer than a catalogue made you feel.
Second-year tools that solve a pain you have felt
Buy a mill when you are tired of pre-crushed malt going stale. Buy a chiller when ice baths steal the evening. Buy a fridge controller when summer kelps your esters. Buy a keg when bottling day is the reason you skip brewing. Each purchase should retire a complaint you can describe in one sentence.
The old site inverted that: it showed the gadget first. This rebuild shows the complaint first.
Sharing gear
Club gear is how many Australian brewers access a mill or a cold room. If you share, agree who cleans, and clean anyway. The club essay is about tasting; the same courtesy applies to a loaned fermenter.
Do not store a still on club premises and call it “pot still research.” That is the legal page again.
Disposal and ordinary civics
Spent grain can go to compost or to animals if the recipient wants it and local rules allow. Sanitiser and cleaner go where the label says, not into a stormwater drain as a habit. Wort boils smell. Tell the household. These are not regulations we invented; they are neighbourliness.
When the batch is done, the equipment is only as good as the next clean. That sentence is the whole hobby.
A hydrometer that lives in its own tube, a thermometer you have checked against boiling water once, and a fermenter that actually fits the fridge you own will beat a decorative mill that never leaves the box. Buy for the constraint you can point at. Leave the rest of the old catalogue where it is — in the redirect map.